Connecting & Authorizing TruSales
You connect your TruVoice Automation instance with your Salesforce environment using an “integration user” with specific Salesforce permissions. Please review the minimum necessary Salesforce permissions for your integration user here: click to review.
You will also need an “authorization URL” from Primary Intelligence for the integration user. The authorization URL is used to authorize and connect TruVoice Automation with your Salesforce instance.
If you have not received this URL, please contact your implementation specialist.
Click the “authorization URL” you received from your onboarding and support representative and you will see the TruSales login screen.
Click the “Login with Salesforce” button and login to your Salesforce instance as either an admin, or as the integration user you have configured.
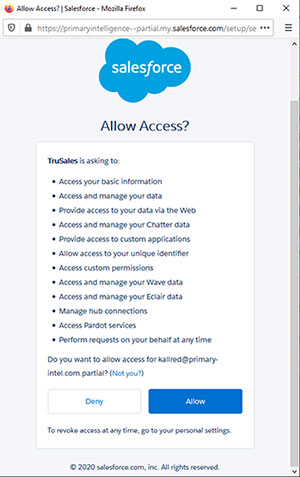
When the Salesforce “Allow Access?” window appears, click on the “Allow” button, which will authorize TruSales to connect to Salesforce using the integration user’s permissions. After you click the “Allow” button, you will be logged into TruVoice Automation.
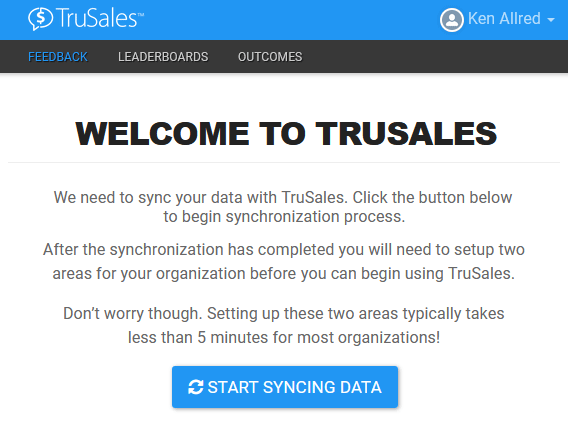
Click on the “Start Syncing Data” button to begin the initial sync.
TruVoice Automation will sync the minimum required data and any additional fields you have enabled in the “Sync Settings” section of your TruVoice Automation Organization Settings. See minimum required Salesforce data here: review required data
Depending on the size of your organization, the initial sync can take up to several hours.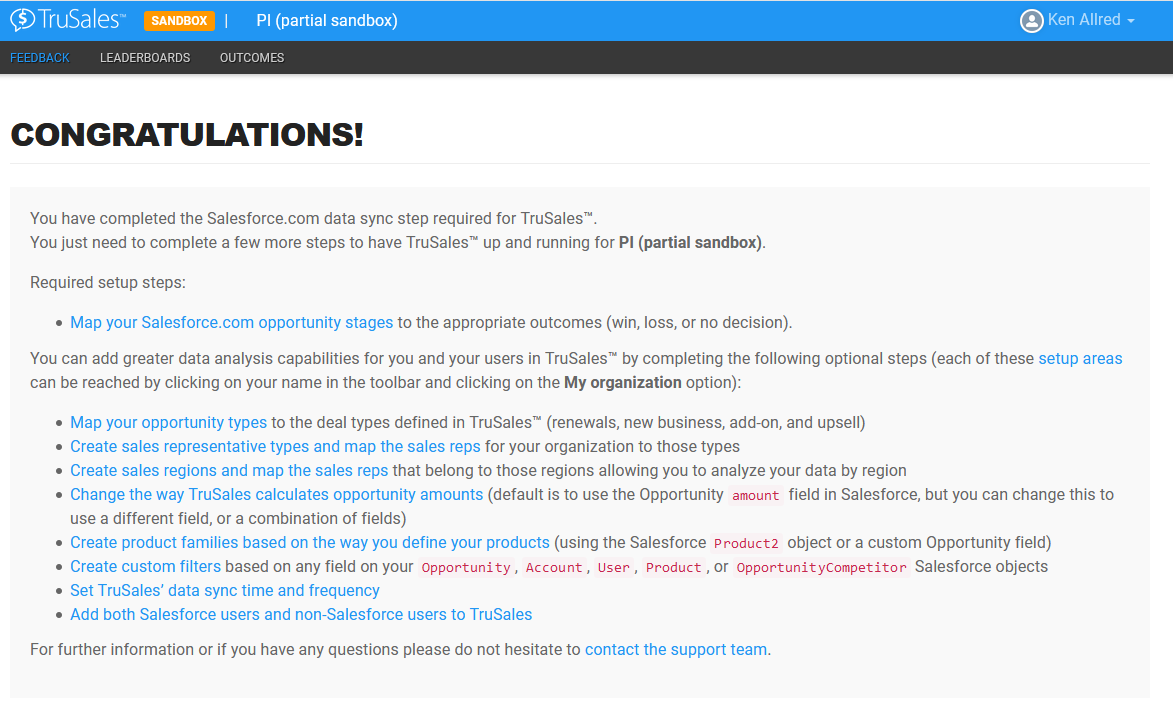
Once the initial sync has been completed, when you log into TruVoice Automation, you will see the “Congratulations!” screen prompting you to configure your TruVoice Automation instance to match your Salesforce environment.
Next, you'll need to install TruVoice Connect in Salesforce.